Tutorial: Scant 1/4" Seam Allowance
When sewing two pieces of fabric together, the seam allowance is the area between the raw edges of your fabrics and the stitch line. The standard seam allowance for quilters is a 1/4”. However, a scant 1/4” is just a hair narrower than a 1/4” and helps keep quilt blocks more accurate. Why? Let’s dive in. In terms of length, I’ll try to keep this post…scant. 🤦🏻♀️
(If you prefer to watch than read, scroll to the bottom for a video tutorial!)

What and Why
The block example below is from three fabric strips measuring 2 1/2” x 5”. I sewed along the long edges with a regular 1/4” seam allowance and pressed the seams to the side. Theoretically, the center strip should now measure 2” but as you can see, it’s slightly smaller than 2”. Why is it smaller than expected?! This is untoward, Seam Allowance. THIS IS NOT TOWARD!
The most common reason is that you lose a little bit of fabric after the seams are pressed and folded. It may not seem like a big deal but that fabric loss adds up, especially if you’re working with a block that has a lot of seams.

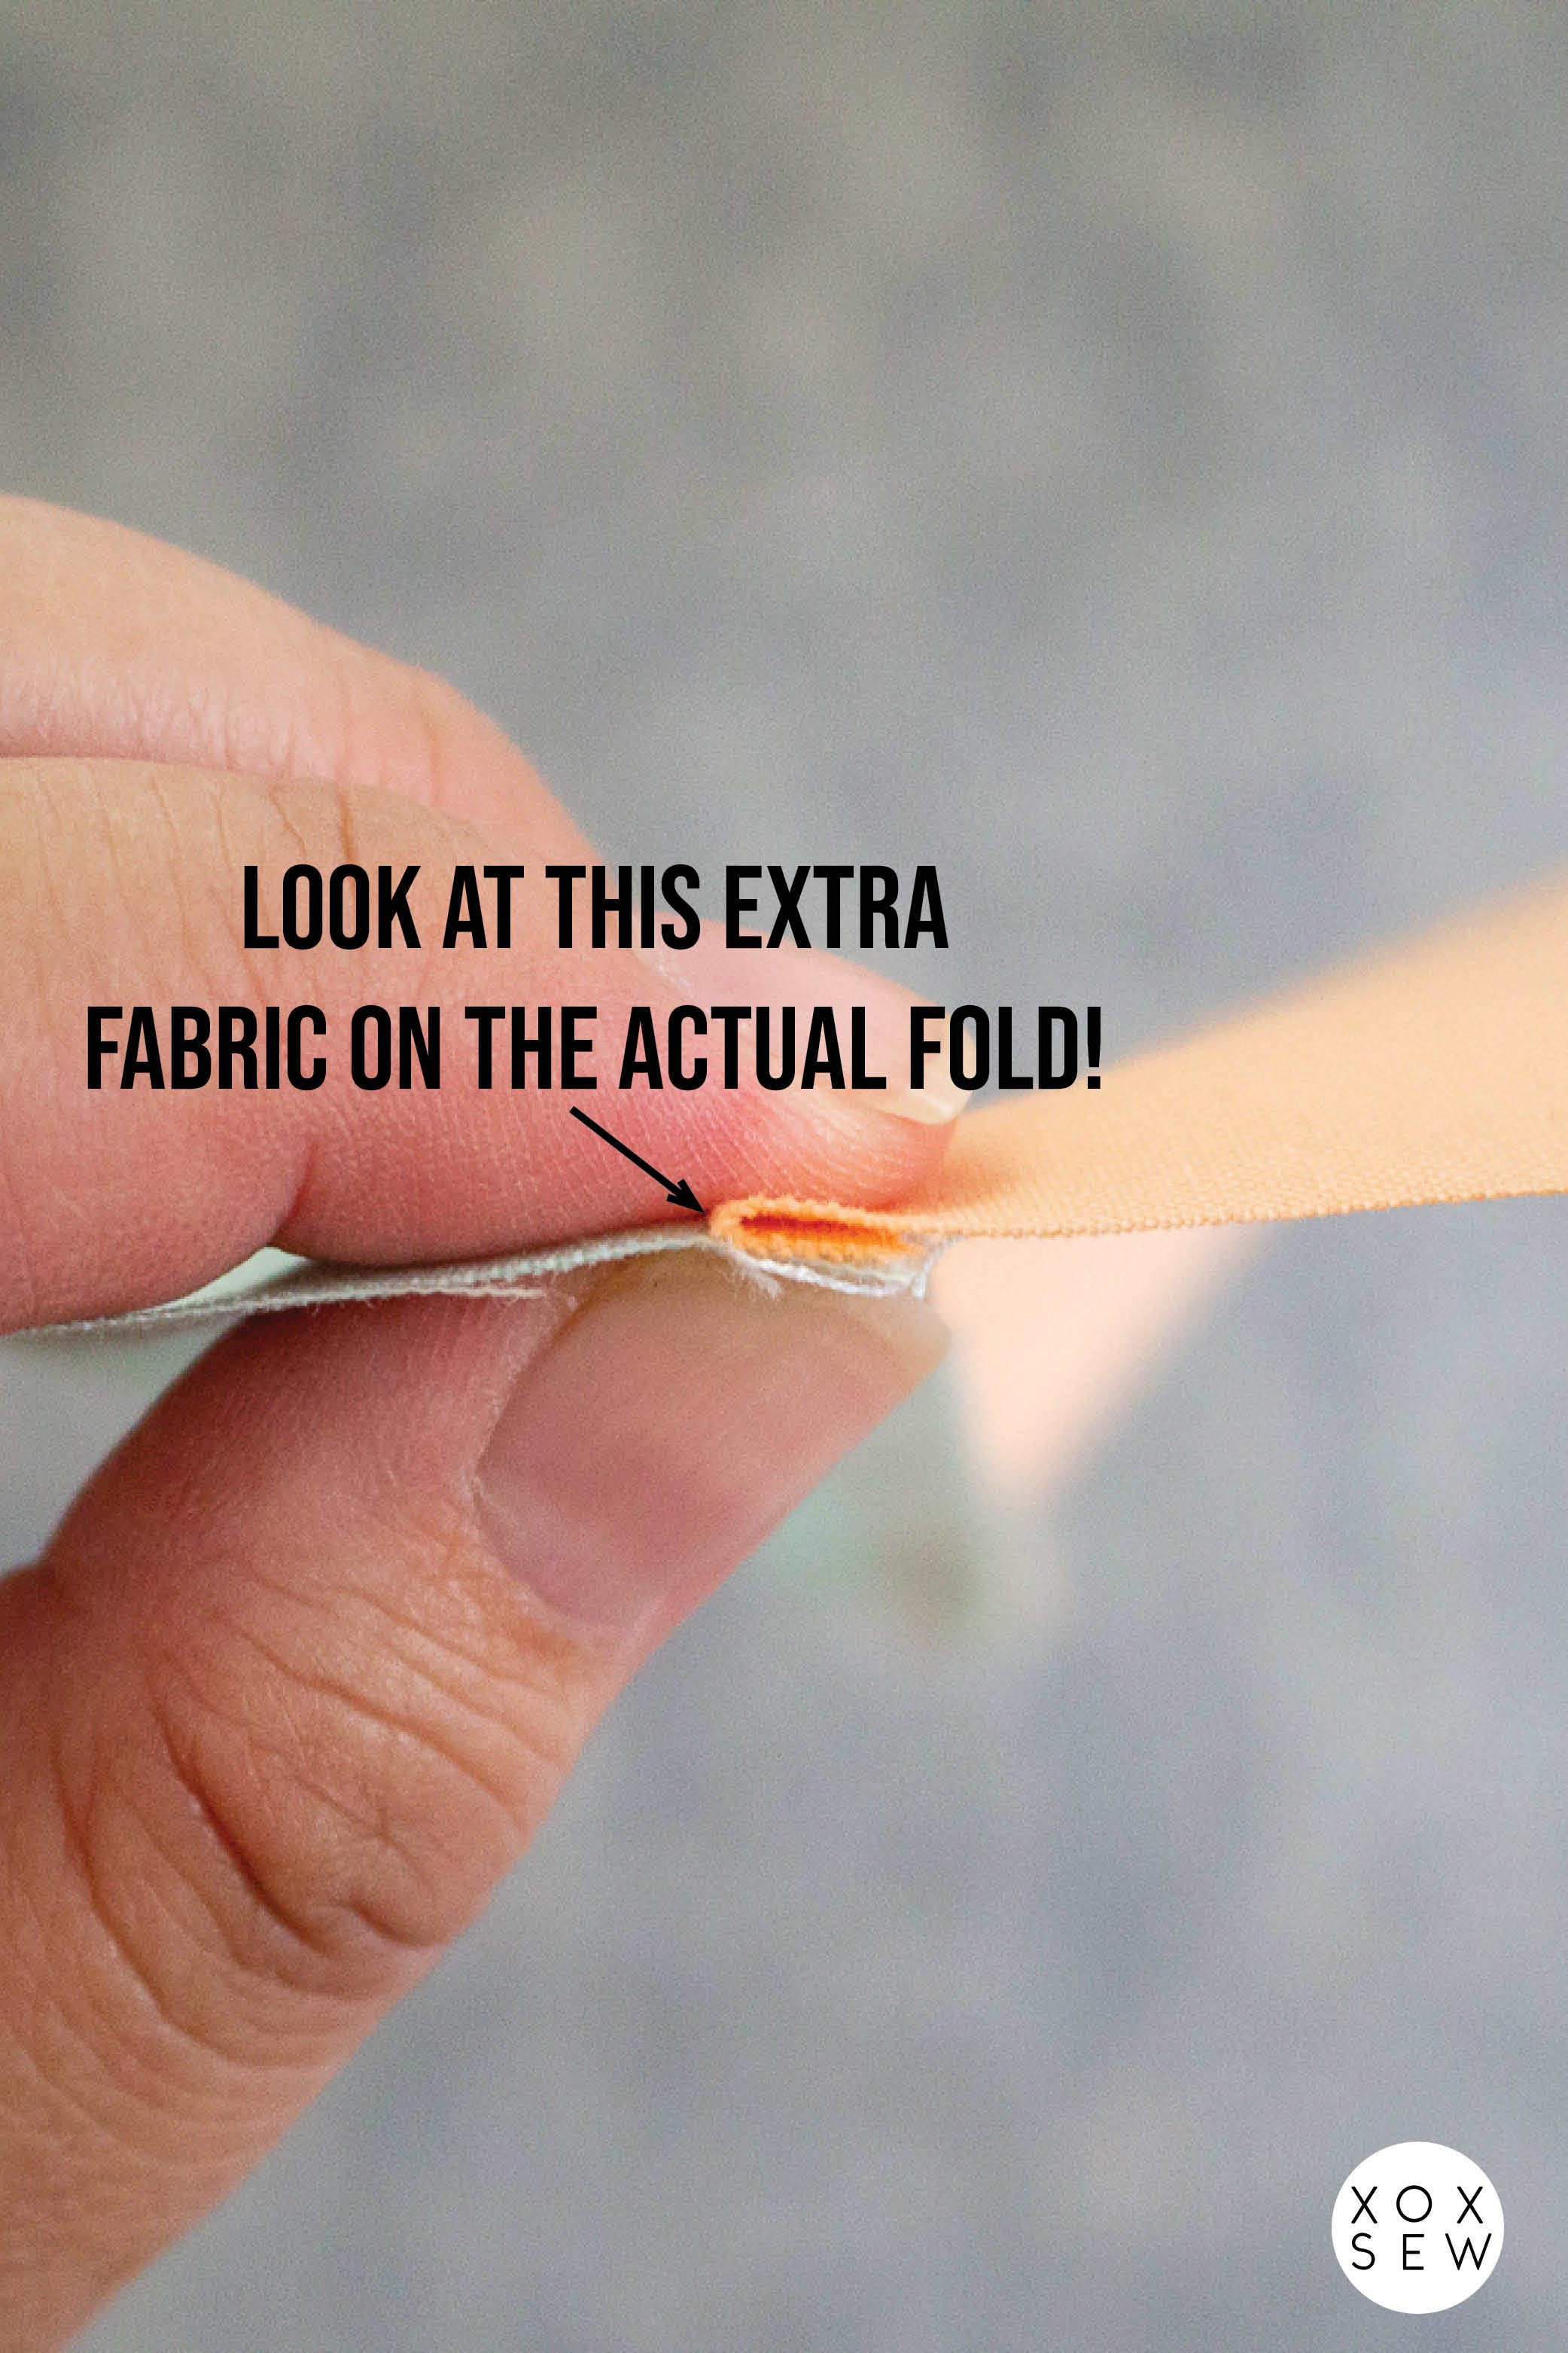
With a a scant 1/4” seam allowance, the stitches are sewn about a hair closer to the raw edges of the fabric to make up for that fabric loss.
Now before we figure out how to find our scant 1/4” seam allowance, please note there are other factors that can affect how much fabric loss we need to make up for. For instance:
- Having your seams pressed open, rather than to the side, typically results in a flatter blocks (less fabric loss). - Consistency is important! pressing open AND to the side when making blocks, can lead to inconsistent results.
- Lighter weight fabrics, such as poplin or lawn, will also have flatter seams than thicker ones, such as broadcloth or chambray. If you’re mixing substrates, keep this in mind!

How to Sew with a Scant 1/4” Seam Allowance
So how do we make up for that fabric loss? By making the seam allowance about a thread width narrower than 1/4” - aka a scant 1/4”. There are special tools to help you find your scant 1/4” in a pinch but the good ol’ trial and error method is simple and sufficient.
Step 1:
Move your sewing needle .1 or .2 to the right of your sewing needle. Make sure you have the proper needle plate on your sewing machine to allow this move. Otherwise, your needle may hit the plate - yikes!

If your needle doesn’t move, then the alternative is to shift your fabrics slightly to the left when sewing to create a narrower seam allowance. To align your fabrics consistently as you sew, use a piece of tape as a visual and physical guide. Place the tape edge just a bit closer than 1/4” from the needle.

Step 2:
Cut three pieces of fabric of the same dimensions. I typically use leftover binding strips so mine are 2 1/2” x 5”. Sew the three pieces of fabric together using the new needle position or fabric placement. Press your seams open or to the side.

Step 2:
Measure the center strip. Mine started off at 2 1/2” so with a quarter inch now removed on each side, my center strip should now measure 2 inches.
As you can see below, the center strip is 2” 🎉 That means, I found my scant 1/4”. I’ll be using the adjusted needle position or using the edge of the blue tape as a guide to sew my project.

Here’s a view of the back of my block. Notice that the seam allowance is narrower than 1/4”. Note that this is my scant 1/4” seam allowance. Your scant 1/4” seam allowance may be closer to the 1/4” mark or even narrower than mine. Again, it depends on how you press you fabrics and what type of fabric you’re using.
Keep in mind that it may take a couple more tries to find your scant 1/4” seam allowance but it’s worthwhile to have accurate quilt blocks.
Should you always sew with a scant 1/4” seam allowance?
Not always! It depends on the project. Personally, I use a scant 1/4” for making all my quilt blocks. It also provides a bit of extra wiggle room for trimming. The only time I wouldn’t advise to use a scant 1/4” are on fabrics that are prone to fraying easily, such as linen. A good rule of thumb is to always make a test block before starting a project.
