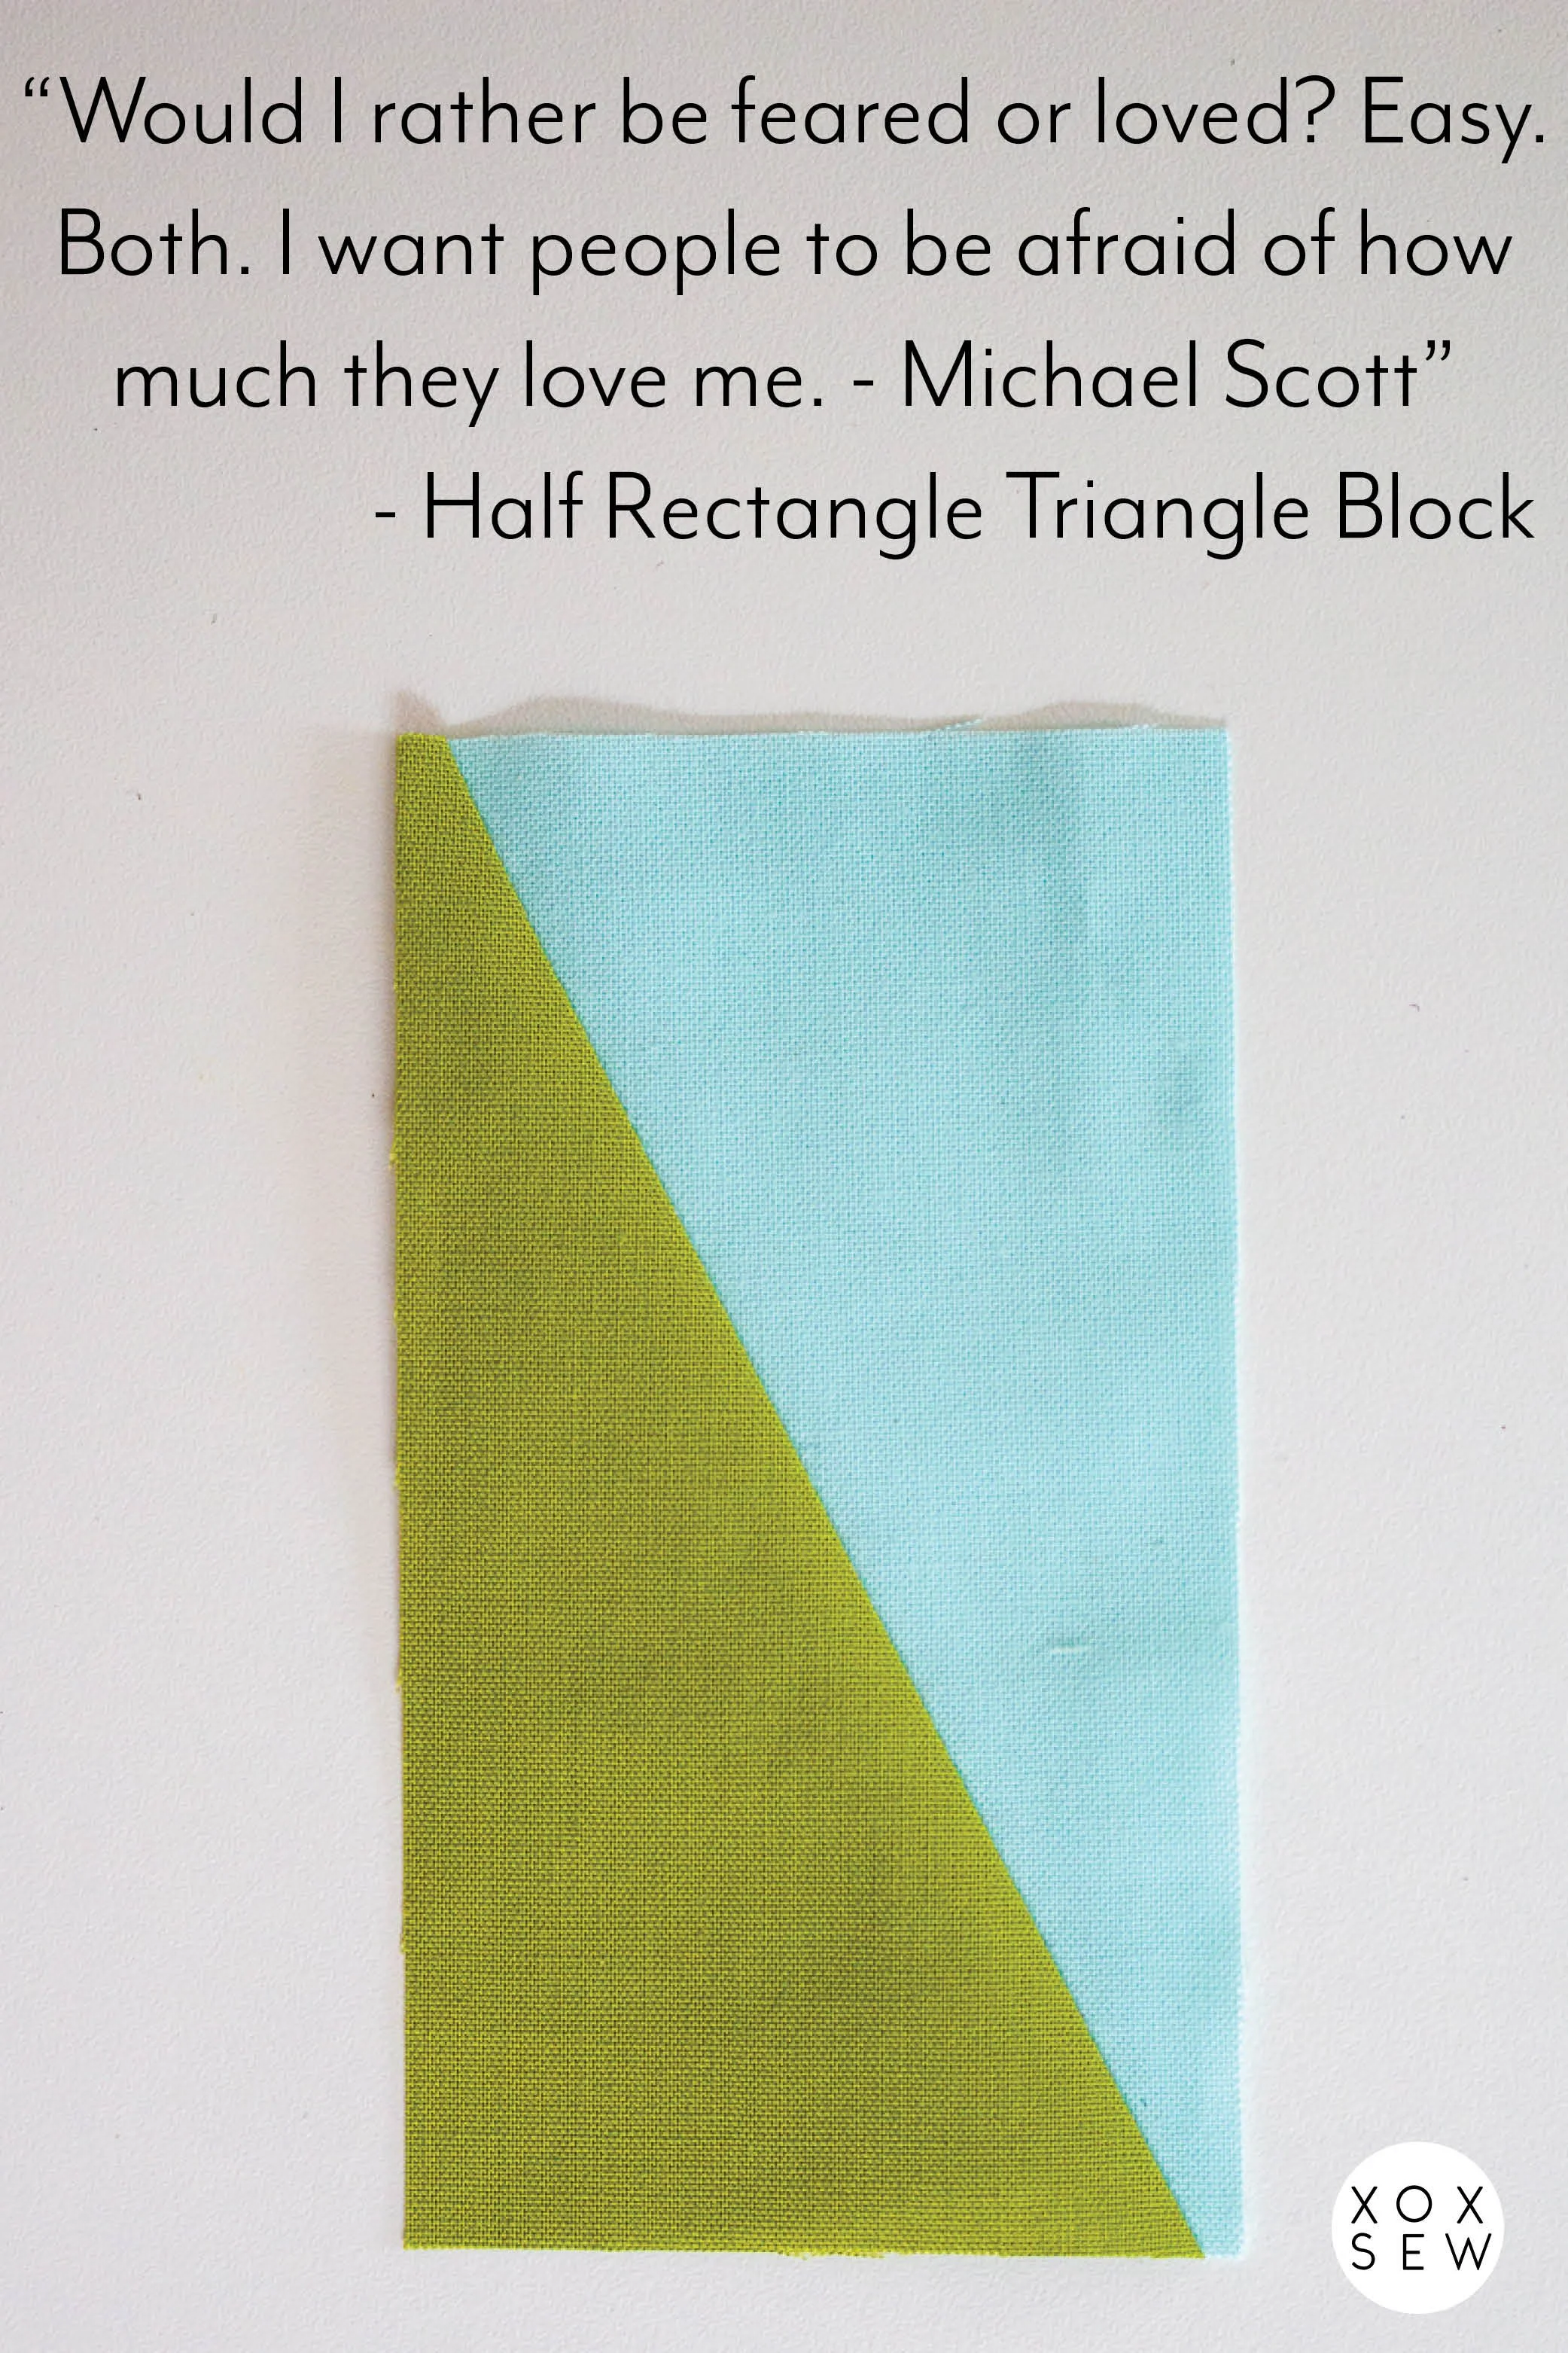
Tutorial: Half Rectangle Triangles (HRTs)
Half rectangle triangles, HRTs for short, are seemingly complex compared its popular cousin, HSTs (half square triangles), but once you pull the curtain open, it’s pretty easy! There are multiple methods to create them, but to keep it simple and straightforward, we’ll focus on the 1-at-a-time method.
(If you prefer to learn by watching than reading, scroll to the bottom for a video tutorial!)
GETTING STARTED
Before we begin, you’ll need two rectangles of the same size that will be cut in the same diagonal direction. We’ll focus on a rectangle with a 2:1 ratio. That means one side is twice as long as the other. For this demonstration, my starting rectangles are 3” x 6”. (They will later become HRT blocks that will be trimmed to 2 1/2” x 4 1/2”.)

CUTTING THE DIAGONAL LINE
Super important: the direction of the diagonal line matters! Cutting a pair of rectangles in one direction will yield an HRT that will be different from another pair that is cut along the opposite diagonal direction:

TIP! If you’re working on a project that uses both directions, keep your sets of cut triangles separate, especially when working with solid fabrics. The triangles can easily get jumbled up and leave you wondering whether you’ve already placed them right sides together or not. (Am I speaking from experience? 100%.)
SCANT 1/4” SEAM ALLOWANCE
Next, place your pair of triangles right sides together with a 1/4” overhang so the pointy tips stick out. Then, sew with a 1/4” seam allowance or even better: a scant 1/4”. A scant 1/4” seam allowance is just a thread width or two narrower than a 1/4” to account for fabric loss when your seams are pressed. It also provides extra wiggle room to trim the block.
Once the triangles are sewn together, press the seams open or to the side. For this demonstration, mine are pressed to the side.
TIP! Diagonal edges are stretchy, so handle pieces with extra care.
ANOTHER TIP! Your machine may try to eat up your fabric during the first few stitches. It has a bottomless appetite for fabric so I can totally relate. It sometimes happens when you’re feeding the wobbly, flimsy corners of your fabrics first or when you’re working with lightweight fabrics. If you have that issue, a fresh new needle usually does the trick for me. Other methods I haven’t tried in a while are: 1) begin sewing from the middle to the edge and then flip and repeat to complete the seam, or 2) hold the tails of the needle thread and bobbin thread as you sew the first stitches, or 3) use leader fabric before sewing your triangles (in other words, you sew a scrap of fabric through your machine first and follow it with your triangles without breaking the thread).


PREP RULER FOR TRIMMING
My block will be trimmed to 2 1/2” x 4 1/2” (or 2.5” x 4.5”, if decimal format reads better for you :)).
With the trim size determined, let’s create some visual guides on the ruler to help trim your blocks with clarity and ease.
1. First, position your ruler and block so that the diagonal seam hits the top right corner of your ruler.
(For my fellow left-handed quilters: position your ruler and block so that the diagonal seam hits the top left corner of your ruler.)

2. Tape along the corner of the trim size. Again, mine is 2 1/2” x 4 1/2”.
3. Mark a dot a 1/4” in from the two corners where the diagonal seam will run.
TIP! You can mark with a disappearing ink marker, a sharpie (you can wipe it off with nail polish remover), or place a piece of clear tape on top of the ruler to mark your dot, so you can easily peel it off after!


TRIMMING THE BLOCK
It’s time to kick up the fun level and trim the block! Place the ruler on the block so that the diagonal seam is hitting the two dotted marks. Make sure there’s enough fabric beyond the trim size. Otherwise, you’ll end up with a smaller-than-expected block. Trim the exposed two edges.

Finally, rotate the block 180 degrees and align the newly trimmed edges to the final trim size. The diagonal seam should naturally hit the dotted marks. Trim the remaining exposed edges and give yourself a high-five!

NOTE: Notice that the tips of the triangles are trimmed off. Take a deep breath because that’s intentional! It ensures the corners will be nice and pointy once it’s sewn to another block (as depicted in magenta lines below).

That wasn’t so bad, right? Keep in mind that as with most things, it may take a few tries to get the hang of it. Here are some common sizes and a formula so you can practice making your own.

I’ll be showing you another method to trim your HRTs using a DIY trimming template in another blog post. I haven’t taken the photos for that tutorial yet so make sure you’re subscribed to my newsletter to stay in touch!